
How to Sterilize an RV Freshwater Tank Safely
Calculate the bleach amount for your RV tank, then follow model-specific directions for dilution, contact time, flushing, filters, and heater bypass.
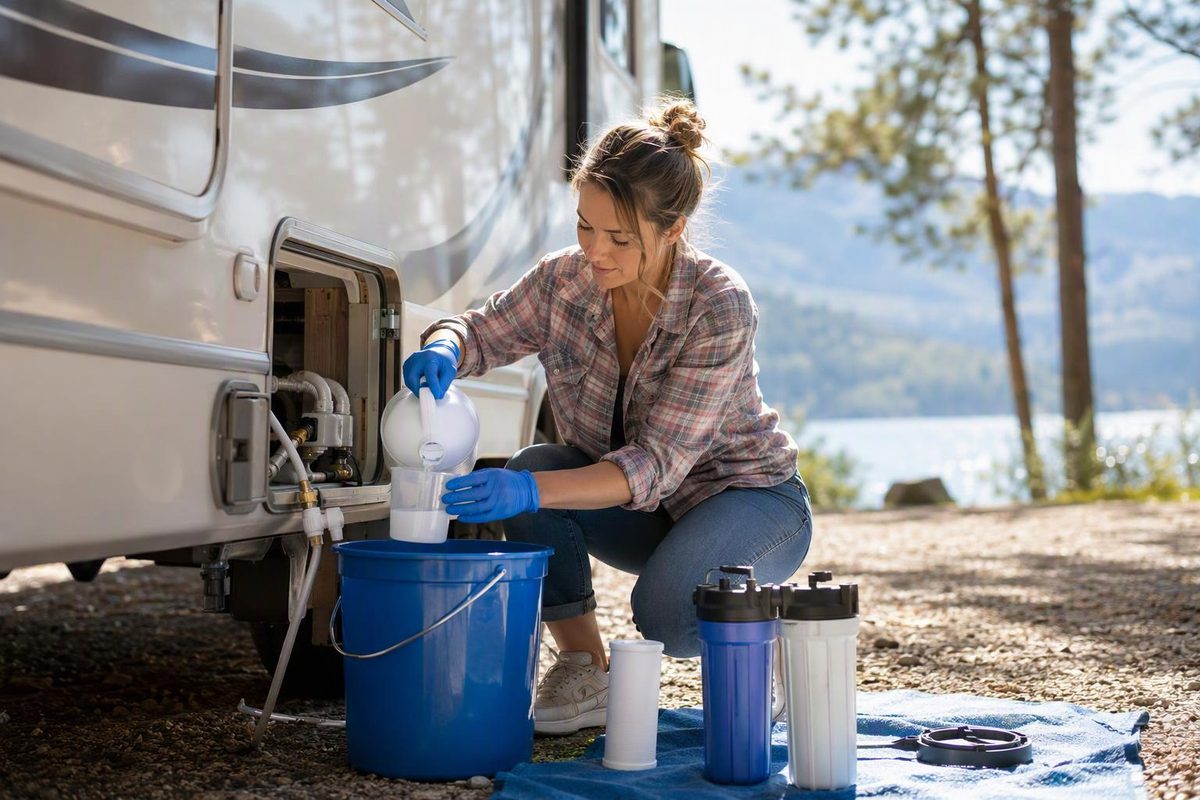
You normally sanitize, rather than sterilize, an RV freshwater tank. A common manufacturer procedure uses 1/4 cup (2 US fl oz) of liquid household bleach per 15 gallons of tank capacity, diluted before it enters the tank. Use that ratio only when it matches the instructions for your RV and bleach concentration; the model-specific dose, contact time, water-heater position and filter procedure take priority.
Enter the tank capacity from your RV manual to calculate the matching bleach amount.
RV Tank Bleach Calculator
For manuals that specify 1/4 cup of bleach per 15 gallons.
For a 30-gallon tank at the stated manufacturer ratio.
| Tank | Cups | US fl oz |
|---|---|---|
| 15 gal | 1/4 | 2 |
| 30 gal | 1/2 | 4 |
| 45 gal | 3/4 | 6 |
| 60 gal | 1 | 8 |
Calculation and limitations
Gallons ÷ 15 × 1/4 cup. Use the result only if the RV manual specifies this ratio and the bleach concentration on hand. The manual controls the contact time, heater position and filter procedure.
Source: the cited Forest River and 2023 Jayco Swift owner’s manuals.
Confirm the Procedure Before Measuring Bleach
The 1/4-cup-per-15-gallon ratio appears in more than one manufacturer procedure, but the surrounding instructions are not identical. A Forest River manual specifies bleach containing 5% sodium hypochlorite and requires at least three hours of contact time. A 2023 Jayco Swift manual describes the same ratio as a 50 ppm treatment, requires at least four hours and directs the owner to bypass the water heater and remove the filter cartridge (Forest River manual; Jayco Swift manual).
Those differences are why the ratio alone is not a complete sanitizing procedure. Before starting, locate the sanitation instructions for the exact RV model and confirm:
- the rated freshwater-tank capacity;
- the required bleach concentration and amount;
- how the solution enters the tank;
- whether the water heater remains in the flow path or is bypassed;
- whether filter cartridges must be removed or bypassed;
- which drains and outlets must be opened; and
- the required contact time and flushing sequence.
Do not transfer the water-heater or filter directions from one manufacturer’s procedure to an unrelated RV. Plumbing arrangements differ, and the cited manuals do not establish one configuration for every recreational vehicle.
Bleach Amounts for the 1/4-Cup-Per-15-Gallon Ratio
Use this table only when the RV manual specifies 1/4 cup per 15 gallons. Base the calculation on the rated freshwater capacity named by the manufacturer, not an estimate of how much water happens to remain in the tank.
| Rated Freshwater Capacity | Household Bleach |
|---|---|
| 15 gal | 1/4 cup (2 fl oz) |
| 20 gal | 1/3 cup (2 2/3 fl oz) |
| 30 gal | 1/2 cup (4 fl oz) |
| 40 gal | 2/3 cup (5 1/3 fl oz) |
| 45 gal | 3/4 cup (6 fl oz) |
| 60 gal | 1 cup (8 fl oz) |
The formula is: tank capacity in gallons ÷ 15 × 1/4 cup.
For example, a 30-gallon tank is twice the 15-gallon reference capacity, so the matching amount is 1/2 cup, or 4 US fluid ounces. The calculator applies the same ratio to decimal capacities, but its answer is not permission to use that dose when the RV manual calls for another concentration or method.
Check the bleach label before measuring. Use plain, unscented household bleach of the concentration required by the RV manual—not scented, color-safe, gel or splashless laundry products. CDC says most regular household bleach contains 5%–9% sodium hypochlorite and advises against products with an unspecified percentage or a concentration outside that range for disinfection (CDC bleach guidance).
That CDC range does not mean every product within it can be substituted at the same volume. The Forest River example specifically calls for 5% sodium hypochlorite. If the product in hand does not match the RV instructions, obtain the specified product or ask the RV manufacturer for the correct dose rather than trying to adjust it by guesswork.
Prepare the RV Without Heating or Damaging Components
Turn off both electric and gas heat sources for the water heater. Let the heater cool, depressurize the plumbing and place its valves in the position specified by the RV manual. Do not restore heat until the system has been returned to normal service and the heater is full.
Remove or bypass water-treatment cartridges when directed. The cited Jayco procedure requires the cartridge to be removed to prevent damage. Depending on the housing design, the empty housing may need to remain installed so the plumbing path stays closed. Follow the housing and RV instructions rather than leaving an open connection. For help identifying the installed element, see Cartridge Filters: Types, Micron Ratings and Selection.
This preparation matters because the sanitizing solution must circulate through the plumbing path specified by the manufacturer without being heated or sent through a cartridge that should have been removed. Record the original valve positions if they are not clearly labeled, but use the plumbing diagram or manual to determine the correct sanitation setting.
Gather a clean measuring container and a clean container suitable for premixing the solution. Keep bleach away from fabrics and finished surfaces. Wear any gloves or eye protection required by the product label, and ventilate the RV while working.
Drain and Fill the Freshwater System
Park level where practical. Turn off the water pump, open the freshwater-tank drain and open the low-point drains required by the manual. Allow the freshwater system to empty. Close the drains before adding the sanitizing solution so it does not immediately discharge beneath the RV.
Measure the bleach amount specified for the tank and product. Premix it in 1 gallon (3.8 L) of water, or use the preparation volume stated in the RV manual. Follow the prescribed mixing method instead of pouring undiluted bleach directly into the tank.
Introduce the diluted solution through the RV’s designated gravity-fill opening or sanitizing connection. The correct entry point depends on the plumbing system. Do not assume a city-water connection will fill the onboard tank unless the manufacturer’s instructions identify the valve arrangement and procedure for doing so.
Fill the freshwater tank completely with water from a known potable source. Use a drinking-water-safe hose. Sanitizing the onboard system does not make a contaminated fill source safe, so the quality of the incoming water still matters.
Circulate the Solution Through Every Tank-Fed Outlet
Turn on the water pump after the tank has been filled. Open each hot and cold faucet as directed until the flow is steady and a chlorine odor is noticeable, then close it. Work through every tank-fed outlet named in the manual, including:
- kitchen and bathroom hot and cold faucets;
- indoor and outdoor showers;
- the toilet supply; and
- any other fixture connected to the freshwater system.
The aim is to replace untreated water in the prescribed plumbing path with sanitizing solution. Running only one sink does not circulate the solution through every branch. Treat hot and cold sides as separate outlets when the manual calls for both.
Watch the tank level and pump operation while pulling solution through the lines. Do not let the pump run dry. If an outlet does not flow, stop and check the relevant valve position, pump supply and instructions rather than allowing the pump to continue without water.
A bypassed water heater does not necessarily mean the hot-side plumbing is omitted. On a system designed for sanitation with the heater bypassed, the bypass routing can allow solution into the hot lines without filling the heater tank. Use the exact valve configuration shown for that RV rather than improvising a route.
Observe the Manual’s Full Contact Time
Start the contact period after the solution has been distributed as the manufacturer directs. Use the stated duration rather than choosing an arbitrary overnight soak.
The cited Forest River procedure requires at least three hours. The 2023 Jayco Swift procedure describes its 1/4-cup-per-15-gallon ratio as a 50 ppm treatment and requires at least four hours. These are model-specific examples, not interchangeable universal times.
Do not shorten one manual’s contact time because another manufacturer gives a different one. Concentration is only one part of the written procedure; the appliance configuration, filling sequence and required duration must be followed together.
Keep the pump and fixtures in the state specified by the manual during this period. Prevent anyone from drinking or using water from the system until the sanitizing and flushing process is complete.
Drain and Flush Until the Chlorine Odor Is Gone
After the required contact time, turn off the pump and drain the tank and lines as the manual directs. Observe campground and local rules when discharging chlorinated water. Avoid releasing it where it can damage plants, finished surfaces or equipment.
Close the drains, refill the tank with potable water and use the pump to move fresh water through every outlet that received the sanitizing solution. Flush both hot and cold sides where applicable. Continue until the chlorine odor is gone.
If the odor remains, drain and repeat the potable-water rinse as necessary. Do not attempt to neutralize bleach inside the freshwater system by adding vinegar or another household chemical.
Never mix bleach with vinegar, ammonia or any other cleaner or disinfectant. CDC warns that mixing products can release vapors that are dangerous to breathe. Keep the RV ventilated and follow all handling and first-aid directions printed on the bleach label.
Restore the Heater, Filter and Normal Valve Positions
Once flushing is complete, turn off the pump before moving valves or opening a filter housing. Restore the water-heater bypass and other plumbing valves to their normal operating positions. Reinstall or replace the filter cartridge as directed, making sure the housing seal is clean and correctly seated.
Fill the water heater completely before restoring electric or gas heat. A steady stream at a hot faucet can confirm that air has been purged. Heating an empty or partially filled unit can damage it, so do not use the heater switch as a shortcut for checking whether the tank is full.
Pressurize the system and inspect the filter housing, drains, valve connections and accessible fittings for leaks. A housing that was opened for cartridge removal deserves particular attention. Correct any leak before leaving the pump on or connecting the system for normal use.
Sanitize at the Interval Specified for the RV
Follow the RV manufacturer’s maintenance interval. Common triggers listed in the cited manuals include:
- before first use;
- after extended storage or seasonal recommissioning;
- after suspected contamination; and
- periodically during use.
The intervals are not the same. The cited Forest River manual says to sanitize at least annually during continuous use. The 2023 Jayco Swift manual says to do it at the beginning and end of each season or every three months of use. Apply the schedule for the relevant RV rather than choosing whichever interval is longer.
Storage conditions and suspected contamination can require attention before the next calendar interval. If the system has been unused, follow the recommissioning directions in the manual, including any separate instructions for removing winterizing products before sanitation.
Bleach Is Not the Remedy for Every Contaminated Tank
Sanitizing the tank and plumbing does not make a contaminated source safe, remove fuel or other chemicals, or keep stored water potable indefinitely. Continue filling only from a known potable source and use equipment intended for drinking water.
If sewage, floodwater, fuel, non-potable antifreeze or another chemical entered the tank, stop using the freshwater system. Do not add extra bleach in an attempt to compensate. Obtain instructions from the RV manufacturer or a qualified RV service provider, because the standard household-bleach procedure does not establish how to remove those contaminants or whether affected components must be replaced.