
Whole House Filter Replacement: Cartridge Change and Leak Checks
Identify the right replacement, depressurize the housing, change the cartridge and check for leaks. Know when a tank needs different service.
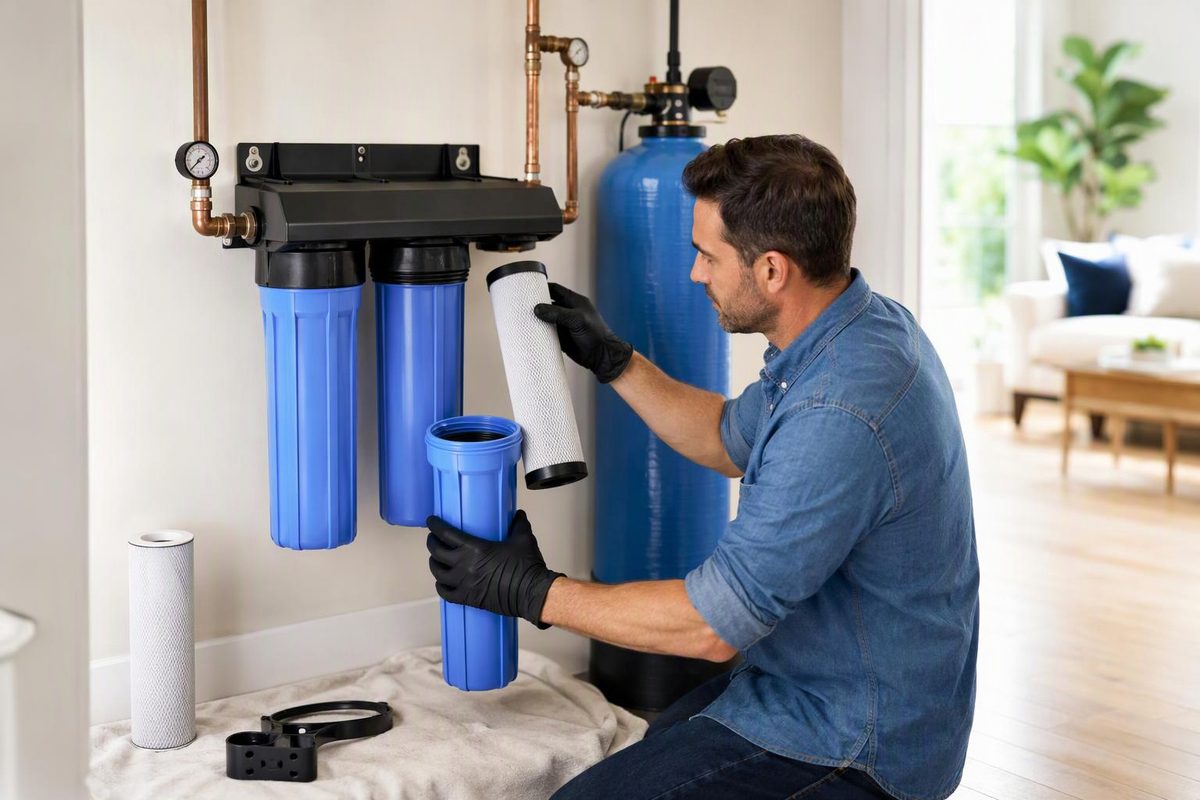
For a whole-house filter with a screw-off cartridge housing, the sequence is: identify the replacement, shut off and depressurize, clean the housing, check the O-ring, install the cartridge, refill slowly and flush. Do not loosen a housing while it is pressurized.
First confirm what you are replacing. A cartridge change is not the same job as replacing a large treatment tank. Some systems have both: Aquasana’s Rhino, for example, has separately replaceable pre- and post-filters plus a main filter tank with a much longer rated life. The tank’s life does not set the cartridge schedule. See the manufacturer’s component schedules.
This guide covers serviceable screw-off cartridge housings—not sealed tank swaps, media replacement or reverse-osmosis membrane service.
Identify the replacement before shutting off water
Record the system model, housing model and cartridge part number. For a multistage unit, photograph the installed arrangement and label each stage so replacements go back in the correct order.
Check these details against the manual or replacement list:
- Length and diameter: “10-inch filter” alone is not enough. Pentair’s Big Blue housings, for example, come in 10-inch and 20-inch lengths and accept cartridges up to 4½ inches in diameter. That does not establish compatibility with every cartridge sold under those size labels. Check the housing specifications.
- End configuration and seating: the cartridge must engage the housing’s specified sealing surfaces or standpipes.
- Media and performance: replace sediment, carbon or specialty cartridges with the specified type. A cartridge that fits physically is not necessarily an equivalent treatment replacement.
- Micron rating and flow requirements: preserve the specified rating and operating limits rather than choosing a finer cartridge solely because its number is smaller.
For background on media and ratings, use the cartridge selection guide. For this maintenance job, your model-specific replacement list is the starting point; the 2018 iSpring WCB/WGB manual illustrates how cartridge choices differ by system model.
When should you replace it?
Follow the cartridge’s specified time interval, gallon capacity and any earlier service trigger. There is no single whole-house replacement interval. As one example—not a universal schedule—the 2018 iSpring WCB/WGB manual recommends replacement every 6–12 months depending on source-water conditions and identifies declining pressure after normal operation as a possible replacement signal. See its maintenance instructions; use the instructions for your own model and cartridge to set its schedule.
Do not wait for bad taste to replace a cartridge used for a health-related contaminant claim. Taste, smell and appearance do not reliably indicate water safety, as CDC explains.
Change the cartridge
Have the correct cartridge, housing wrench, bucket, towels, clean rinse water, gloves and any manufacturer-specified O-ring lubricant ready. Keep a matching spare O-ring available. CDC recommends wearing gloves and washing your hands afterward; people with weakened immune systems should avoid changing filters themselves.
1. Isolate and release pressure
Turn off the water supply to the filter using the valve arrangement specified for your installation. If using a bypass, follow the system’s valve instructions; bypassed water is not receiving that filter’s treatment.
Open a nearby cold-water faucet to drain pressure. Press the housing’s pressure-relief button, if fitted, as directed. Only use the housing wrench once pressure has been released. The iSpring filter-change procedure calls for both a nearby faucet and the relief button before removal. If you cannot confirm that the housing is isolated and depressurized, stop and get help rather than loosening it.
2. Remove the bowl and old cartridge
Place a bucket beneath the housing. Support the bowl as you unscrew it: it still contains water. Remove the old cartridge and keep the O-ring somewhere clean.
If the bowl will not release after depressurization, stop rather than adding improvised leverage that could damage the housing or plumbing.
3. Clean and inspect
Clean the bowl, cap and O-ring groove with the materials allowed by your manual. Follow its sanitizing and rinsing procedure; do not improvise a bleach concentration or mix cleaning products. If the cleaning directions are unclear, ask the manufacturer before proceeding.
Inspect the bowl for damage and the O-ring for stretching, cuts or crimping. Replace a damaged O-ring. If lubrication is specified, use the approved product and seat the ring evenly in its groove. The iSpring instructions specify clean silicone grease and explicitly prohibit petroleum jelly.
4. Seat the new cartridge and close the housing
Remove all packaging. Install the cartridge upright, engaging the standpipe or other seating features specified for that housing. Preserve the stage order.
Start the bowl squarely on the cap and tighten as the manufacturer directs. Do not assume every housing needs wrench-tightening: Pentair’s OMNIFILTER instructions specify hand-tightening, while the iSpring manual permits a light wrench snug. Neither calls for overtightening.
5. Refill, flush and check
Restore water slowly and release trapped air as directed. Inspect the bowl-to-cap joint, relief button and pipe connections for leaks.
Flush through the specified cold-water outlet for the cartridge’s required time or volume before using the water. New carbon cartridges may release carbon fines and air initially. Flush requirements differ: the OMNIFILTER instructions specify five minutes; the iSpring replacement procedure says to flush until air and loose carbon have cleared. Use your cartridge’s requirement, not a generic timer.
Check again with the faucet closed, when the system is under pressure. Do not leave an active drip unattended.
If it leaks or flow is still poor
- Leak at the bowl joint: shut off and depressurize again before reopening. Check the O-ring, groove cleanliness and cartridge seating. More tightening is not a substitute for a correctly seated seal.
- Low flow immediately after replacement: confirm that all packaging was removed, the cartridge is seated correctly and the valves are in the specified operating positions. iSpring identifies remaining packaging or incorrect installation as possible causes.
- Cracked housing or persistent leak: keep the filter isolated and arrange repair. Check the housing’s own replacement-age requirement; replacing the cartridge does not renew the pressure-containing bowl. The OMNIFILTER instructions, for example, include separate replacement intervals for plastic bowls.
Record the change date, cartridge part number, next due date and meter reading if you track gallon capacity. Keep that record by the filter so the next replacement starts with identification rather than guesswork.