
Inline Water Filters: Fridge, Ice-Maker and RO Line Fit
Match inline water filters to refrigerator, ice-maker and RO lines. Check tubing size, fittings, treatment claims, flushing and sealed-unit replacement.
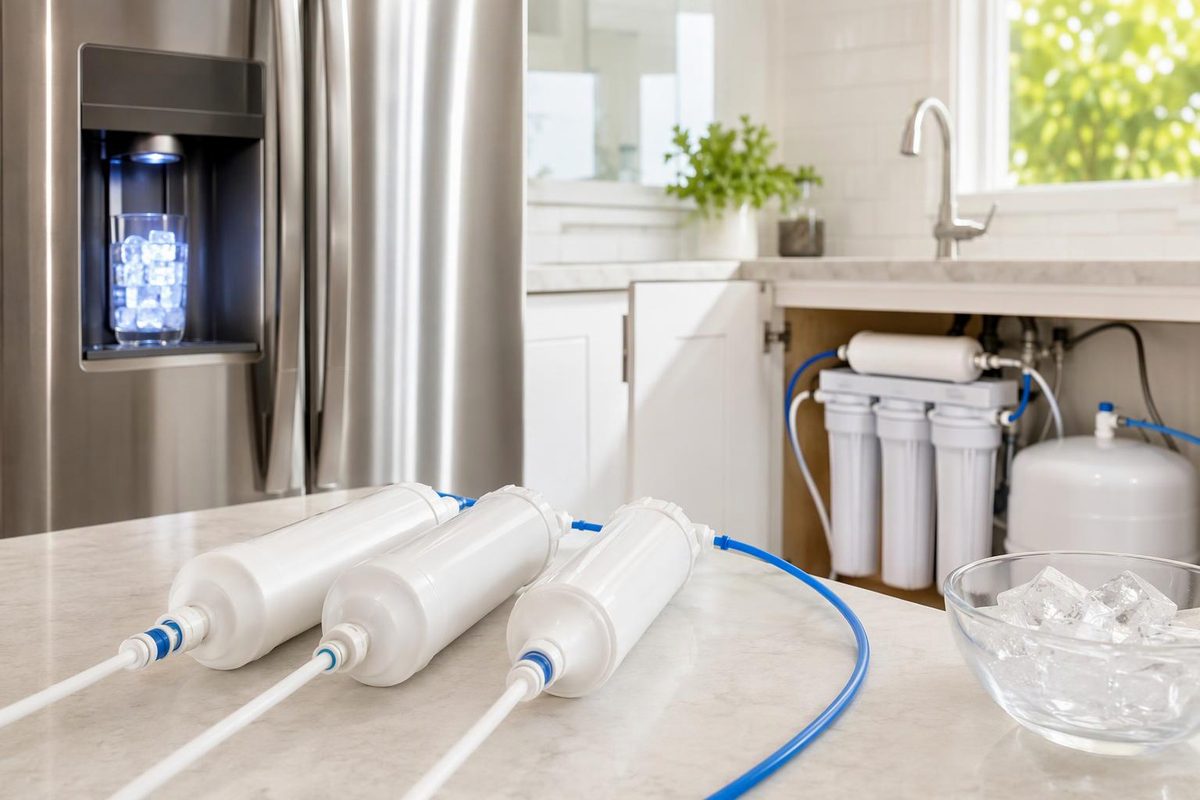
Match the connection before buying: record the tubing’s outside diameter, the fitting type at each end and the filter’s flow direction. A label saying “1/4-inch” is incomplete unless it identifies a tubing connection or a pipe thread.
An inline water filter sits directly in a water line, with an inlet and outlet. This guide covers the compact, sealed units used on refrigerator, ice-maker and reverse-osmosis (RO) lines—not cartridges placed inside reusable housings. For a disposable sealed unit, replacement means changing the entire filter body.
Identify the line and connections
Measure the tube itself, not the nut or fitting around it. John Guest’s fluid-system catalog lists tube OD and thread size separately; an adapter can have a 3/8-inch tube connection and a 1/4-inch pipe thread.
| Connection you see | What to match | Installation implication |
|---|---|---|
| Push-fit socket with a release ring, or collet | Exact tube outside diameter, such as 1/4 or 3/8 inch, plus approved tubing material | Tube must reach the internal stop; merely gripping is not enough |
| Female threaded port on the filter | Specified thread size and standard, plus the adapter’s tube size | Buy the correct adapter; a threaded port is not a tube socket |
| Nut-style compression connection or braided appliance hose | The existing connection specification and the filter kit’s approved adapter | Do not treat it as push-fit tubing; use the matching connection method |
Also check the replacement filter’s body dimensions and mounting requirements. Leave access to the inlet shutoff and enough room to release the tubes without straining them. The Aqua-Pure IL-IM-01 instructions, for example, specify an accessible section of 1/4-inch copper or plastic tubing, with the shutoff on the inlet side. That does not establish compatibility for every inline filter.
Choose the correct job and location
Refrigerator or ice-maker supplied by tap water
A carbon inline filter can be appropriate for a chlorine-related taste or odor complaint when its documented claims match the problem. Watts describes its inline GAC filters for chlorine, taste and odor treatment on RO and ice-maker applications.
Do not infer lead, fluoride, PFAS or microbial treatment from the words “carbon,” “inline” or “refrigerator compatible.” NSF explains that NSF/ANSI 42 covers aesthetic claims, while 53 covers health-effect claims—and certification does not mean a filter reduces every contaminant. Verify the exact model and reduction claim. If your utility uses chloramine, consult the separate guide to chloramine filter selection.
An ordinary taste-and-odor filter is not a substitute for disinfection of unsafe water. The Aqua-Pure manual explicitly excludes microbiologically unsafe or unknown-quality water without adequate disinfection.
Replacing an RO inline post-filter
Identify the stage from the system diagram, not the filter’s shape. A carbon post-filter is not an RO membrane. Watts describes its inline polishing filter as treating water leaving the storage tank on its way to the faucet. Replace it with the system-specified part or a manufacturer-approved equivalent, keeping the original routing and flow direction.
Feeding a refrigerator from RO
Check the refrigerator’s pressure requirements before adding another filter. GE warns that low pressure from an RO supply can cause small or hollow ice cubes and recommends using the refrigerator’s bypass plug rather than its internal filter when connecting RO. Follow your own appliance manual; do not assume every refrigerator bypasses automatically when its cartridge is removed.
Check flow and operating limits
Before ordering, compare:
- Rated service flow, in gallons per minute (gpm) or liters per minute—not just total gallon capacity.
- Pressure and water-temperature limits, including any pressure-reduction requirements.
- Rated capacity and calendar replacement interval.
- Cold-water, indoor and freeze-protection requirements.
For scale, the IL-IM-01 manual lists 0.5 gpm (1.89 L/min) and 2,500 gallons (9,464 L), but requires replacement every six months, at rated capacity, or sooner for a noticeable flow reduction—whichever comes first. Its capacity is not permission to ignore its time limit. These figures belong to that model, not inline filters generally.
Install or replace a sealed push-fit unit
Use the exact filter and appliance instructions, including any requirement for a qualified installer. The Aqua-Pure instructions specify qualified installation and compliance with state and local plumbing codes. For a compatible push-fit installation, the core sequence is:
- Isolate and depressurize. Shut off the supply and relieve pressure through the dispenser or specified outlet. On a tank-based RO system, also close the tank valve; the Watts maintenance manual specifies opening the RO faucet to relieve pressure.
- Record direction before removal. Mark the supply and appliance sides. Connect the replacement according to its inlet/outlet labels or arrow.
- Release and inspect the tubes. With pressure relieved, hold the collet against the fitting and pull the tube straight out. Prepare square, burr-free ends without score marks. John Guest recommends inserts for soft or thin-walled plastic tubing; follow the fitting’s requirements.
- Seat connections fully. Whenever connecting a tube, push it fully to the stop, then pull gently to confirm it is secure. Follow the filter’s flushing sequence to determine when to connect the outlet. John Guest requires testing the system before use in its push-fit instructions.
- Flush as directed, then check for leaks. The IL-IM-01 requires flushing four gallons before connecting the outlet to the appliance: connect the inlet, direct the flush water into a suitable container, and then shut off the supply before making the outlet connection. Restore the supply and check for leaks. Other filters may specify a different volume or sequence. Do not substitute “until clear” for the stated flush requirement.
If a connection leaks, shut off the water and depressurize before correcting it. If the leak persists, leave the supply off and obtain help rather than repeatedly forcing the tubing into place.
Write the installation date and next replacement deadline on the filter or maintenance record. Replace a disposable sealed unit rather than opening or refilling it, and keep the part number so the next change does not depend on appearance alone.